

Prior to now, I would by no means been an enormous person of the Apple Pencil or different stylus units. I simply did not see a lot want for them. However after snagging the newest iPad Professional final yr, I made a decision so as to add the Apple Pencil Professional to the package deal. And I am glad I did.
Since working and taking part in with the brand new Professional pencil, I have been in a position to get pleasure from and recognize its capabilities. Writing, drawing, and annotating on the pill are enjoyable and straightforward, particularly with the Professional pencil’s powers. You may squeeze and faucet the pencil to activate its palettes and instruments. Once you squeeze the pencil, you will obtain haptic suggestions as affirmation. The Professional pencil additionally works with the Discover My app, so you’ll be able to find it if it ever will get misplaced.
Additionally: The Apple Pencil Professional drops to $99 due to Amazon’s seemingly incoming Spring Sale
You will need to meet a number of necessities earlier than you should use the Pencil Professional. At this level, you will want one of many following iPads: iPad Professional 13-inch (M4), iPad Professional 11-inch (M4), iPad Air 13-inch (M2 or M3), iPad Air 11-inch (M2 or M3), or iPad mini (A17 Professional). You additionally should be operating iPadOS 17.5 or increased.
The Pencil Professional will work with many text-based and drawing apps. However you could not have the ability to faucet into all its options, otherwise you would possibly discover that the options range. Some apps convert any textual content you write into common typed characters. In different apps, your textual content stays the way you draw it however is remodeled into extra legible and straightened characters. Sure apps additionally help squeezing the pencil to show the palette and comparable instruments, whereas others don’t.
I usually use the pencil in such built-in apps as Notes and Freeform. However I’ve additionally tried it in a number of third-party apps, together with note-takers, drawing and portray applications, and even ones that aid you be taught to attract. Finally, you will should experiment to see which apps are probably the most Pencil-Professional pleasant. To get a head begin, open the App Retailer app in your iPad and run a seek for “Apple Pencil” or “Apple Pencil Professional.” You will discover a host of apps that help the pencil.
Another choice I would advocate is getting a case with a pencil holder. Sure, the pencil attaches magnetically to the iPad, however it could possibly come unfastened. case will maintain it in place. I take advantage of a Fintie Hybrid Slim Case for the iPad Professional 11, with a colourful lilac marble entrance cowl, a tough plastic again, and a handy area to carry the Pencil Professional.
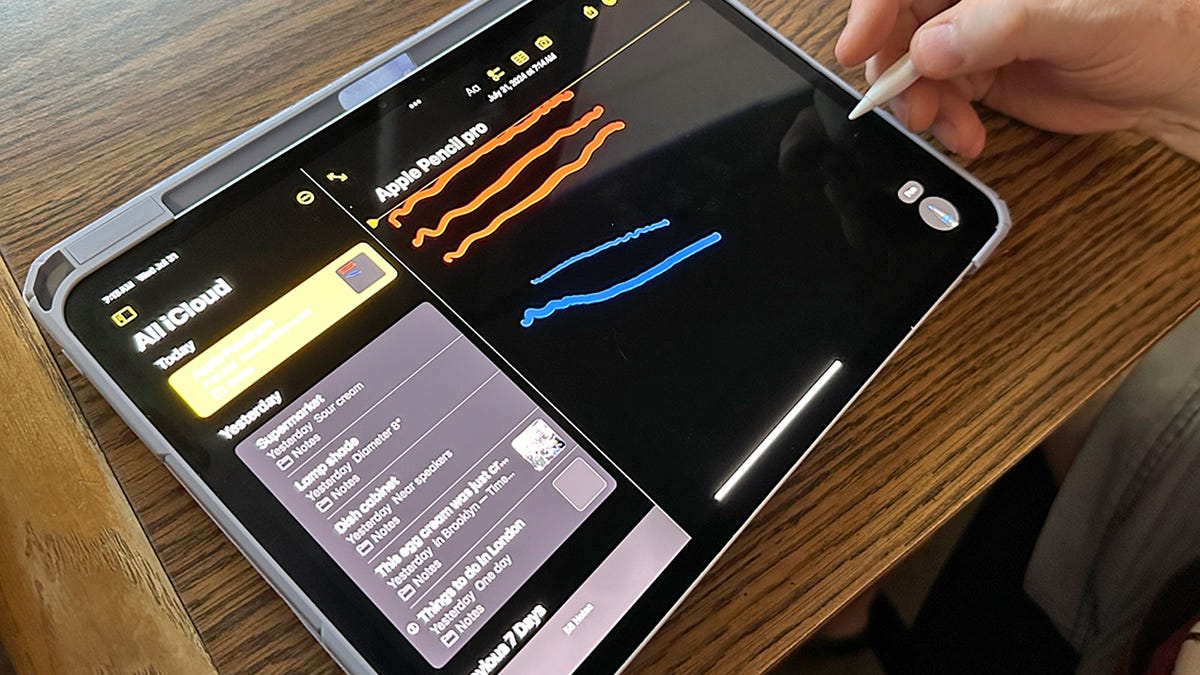
Now, here is how I take advantage of the Apple Pencil Professional and the way you should use it as properly.
Squeezing the pencil to rapidly entry the palette could also be my favourite function. For this, you’ll be able to squeeze wherever on the stem of the barrel, however doing this close to the tip most likely works finest in case your hand is already positioned there. Not all apps help the squeeze, however you will know straight away based mostly on whether or not or not a palette pops up in response.
Relying on the app, the palette ought to show the completely different drawing or portray instruments accessible in addition to a circle to vary the colour and icons for undo and redo. Hover your pencil over every icon to see it reply. Faucet the software you need with the pencil tip. Faucet the dot to modify the colour. Faucet undo to reverse your final motion. You may additionally discover an ellipsis icon that gives entry to extra instruments and settings.
Additionally: iPad Professional evaluate: Apple’s most superior pill isn’t any MacBook, and I am okay with that
This is a fast approach that I change between instruments. Double faucet the barrel of the pencil along with your forefinger. Proceed to double faucet and you may change between the final two instruments that you just accessed, similar to a pen, paintbrush, or eraser. Relying on the app you are utilizing, the software you select will seem, come out, or be highlighted on the display screen to indicate you which of them one you are about to make use of.
I have not bought the steadiest hand with regards to drawing or writing on the display screen, so I will take all the assistance I can get. That features the hover function, which exhibits you the place the pencil is about to hit the display screen. For this, select a pen software. As you progress the tip of the pencil towards the display screen, a small round shadow exhibits you the place the software will land, permitting you to exactly begin drawing or writing in a particular space.
Additionally: The perfect iPad stylus of 2025: Skilled examined
As an alternative of twiddling with the palette to vary the thickness of the pencil or brush, I like to regulate it by various the strain. To do this out, draw calmly on the display screen to create a skinny line or form. Apply extra strain and repeat the identical motion. Do it a 3rd time, making use of much more strain. You need to see a distinction in thickness among the many three objects you drew.
My mother was the artist within the household. Me? I can not even draw a straight line, at the very least not with out assist. However that is the place I depend on a ruler. Sure drawing and even word taking apps allow you to activate a ruler with the intention to draw in opposition to its edge and produce a straight line.
Additionally: This $80 off iPad deal is a steal – and it is the mannequin I like to recommend to most individuals
To do this, open an app like Notes in your iPad. Faucet the pencil icon on the high to show the palette on the backside. Choose the Ruler software and place the straight edge ruler on the display screen along with your fingers. You may then create a straight line by drawing it in opposition to one of many edges of the ruler. Faucet the Ruler software once more to take away it from the display screen.
Generally I need to transfer, resize, or in any other case modify a picture I’ve drawn. One fast and straightforward approach to do this is with the lasso software. From the palette in Apple Notes, choose this software (it is the one to the left of the eraser). Draw over and round any objects on the display screen to pick out them. You are then in a position to transfer the chosen space and make different adjustments to it.
Generally I discover it simpler and extra comfy to write down textual content with the pencil than kind it out on the iPad’s digital keyboard. However finally I nonetheless need that textual content to be editable. For that, I can select a software to show my handwriting into textual content. This is how. Open the palette and faucet the pencil with the letter A on it. Write some phrases, and your handwriting is became textual content.
This is an alternative choice I take advantage of to show my messy handwriting into extra legible characters. With auto-refine, the phrases you draw with the pencil are smoothed out and straightened whereas nonetheless retaining the unique look and elegance.
Additionally: The right way to rework your doodles into gorgeous graphics with Apple’s Picture Wand
To do this, squeeze the barrel of the Pencil Professional. On the small curved toolbar, faucet the ellipsis icon, decide the gear settings icon, and activate Auto-refine Handwriting. Use one of many drawing instruments to attract a phrase or two on the display screen. Wait a number of seconds, and the textual content is remodeled into extra refined characters.
Earlier than I first took the Pencil Professional for a spin with precise apps, I needed to observe among the actions to get the dangle of them. To do that, go to Settings and choose Apple Pencil. Activate the change for Scribble if it is off after which faucet the entry for Strive Scribble. On the subsequent display screen, you’ll be able to observe handwriting with the pencil in addition to deleting, choosing, inserting, and becoming a member of characters.
The longer you employ it, the extra the pencil’s battery cost will get drained. To verify on the present cost, simply connect the pencil to your iPad. Go to Settings and choose Apple Pencil. The setting on the high exhibits you ways a lot cost is left. If the cost is low, hold the pencil connected till it reaches 100% — which takes not more than 15 to twenty minutes.
The default settings for the Pencil Professional work for me. However you’ll be able to all the time change particular actions and gestures. Head to Settings and choose Apple Pencil. Below Actions, you are in a position to modify what occurs whenever you squeeze and double faucet the pencil. Additional down underneath Pencil Gestures, you’ll be able to tweak what occurs if you happen to swipe the pencil diagonally from the corners of the display screen.
In the event you ever neglect the place you set your Pencil Professional, you’ll be able to find it with the Discover My app. So as to add it initially, open the Discover My app in your iPad. Faucet Units and fix the Apple Pencil Professional to your iPad. Faucet the plus button, faucet Apple Pencil, and comply with the on-screen directions.
Additionally: The perfect Bluetooth trackers of 2025: Skilled examined
In the event you ever misplace the Pencil, open the Discover My app on an iPhone, iPad, Mac, or the iCloud web site. Choose the Units icon and faucet Apple Pencil Professional. Comply with the instructions to search out the pencil or mark it as misplaced if you cannot monitor it down.
On the lookout for the following finest product? Get professional critiques and editor favorites with ZDNET Recommends.


